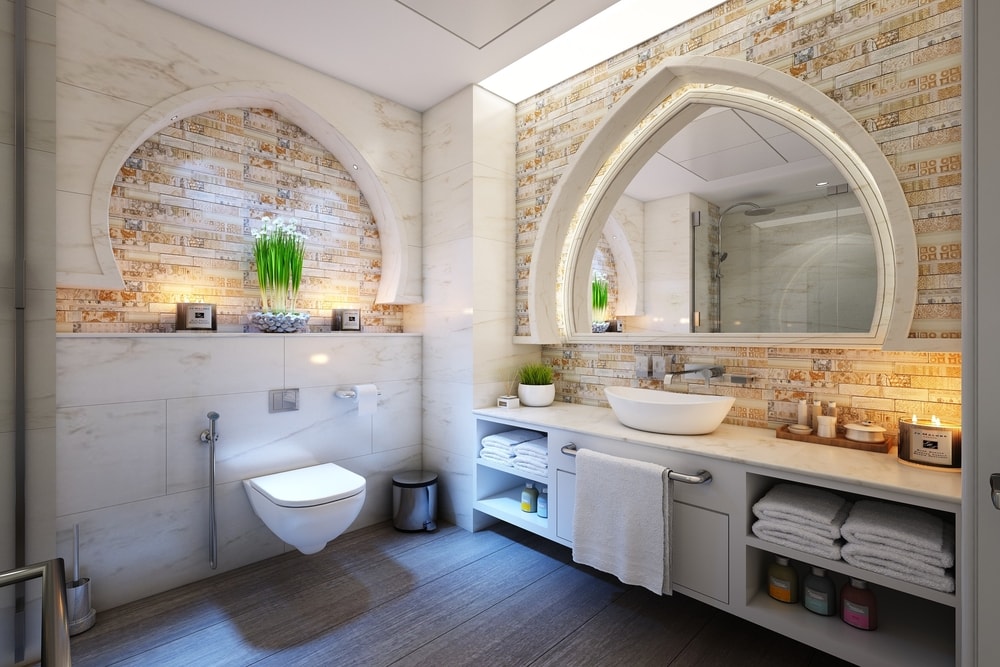
Bathroom Remodeling- How to Install a Toilet, Do it Yourself
Since the housing boom has slowed down and home appraisals have declined, many homeowners are investing in home improvements instead of buying a new house. A large portion of the baby boomer generation have accumulated a good amount of equity in their home and can afford to pay for home improvements either with cash, an equity loan or simply spend their income tax refund on items they want for their home. Kitchen and bathroom remodeling is the most popular type of home improvement and there are ways to stretch your dollar without completely renovating these areas. Some handy homeowners simply paint or wallpaper a bathroom to freshen the look of the room. Experienced do it yourselfers may tackle larger projects like replacing the vanity base, sink, faucet and toilet to give the room a new look without having to disturb the existing walls or tile finishes.
If the rest of the room is in good shape there may be no need to replace the shower area, bathtub and flooring. If you do want to replace the bathtub or shower, you will most likely have to replace the wall tile around the tub or wall surround, floor tile, shower diverter and tub faucet and this may be more work than a do it yourselfer can do. Doing a complete bathroom remodeling project will cost more, require more planning and will take longer than just replacing the vanity and toilet.
Replacing a toilet or sink is a job many do it yourselfers can do and is relatively easy to do if you have some mechanical ability and know a little bit about plumbing. Depending on the age and condition of the existing bathroom will determine how much work will be involved in replacing your toilet. In newer homes installing a new toilet is relatively easy and will require very little prep work.
In older homes you may have a leaking toilet or discover floor damage to the floor tile or ceramic tile and beneath the flooring you may find the sub floor is water damaged or deteriorating. It may be hard to determine the extent of the damage beyond this and only when you remove the old toilet will you be able to tell. There may also be signs of leaks in the rooms below the toilet or shower area. If you suspect beforehand that there is subfloor damage you may want to include in your budget the replacement cost of the subflooring before starting this project.
If your bathroom will be out of service for duration of the remodeling, plan how your family will share another bathroom while the work is being done. If there is only one bathroom in your house, leave the old toilet in place as long as possible and do the surrounding work first. When it is time to do the flooring of repair the plumbing then take out the toilet but keep in mind that you may have to repeatedly temporarily connect and disconnect the toilet during the phases of the remodeling. I would suggest using the old toilet while under construction and wait until the new flooring is completed to install the new toilet only once permanently.
Before purchasing a new toilet check all measurements of the existing space and the center of toilet drain from the back wall which should be 12″. Most toilets have a 12″ rough-in center. To find the center of the drain while the old toilet is in place, remove the bolt down covers at the base of the toilet and measure from the back wall to the center of bolt, this can vary up to ½” more or less than 12″.
Tools Needed– 2 pair of disposable latex gloves, old rags, channel lock pliers, adjustable wrench, utility knife, wide putty knife or scraper, screwdriver, small pry bar, caulking gun, and hacksaw.
Materials– toilet mounting bolts (brass), 2 toilet wax rings with extender- 1 regular and 1 extra thick in case needed, new flexible water supply line, 1 tube of caulking to match toilet color, toilet and toilet seat.
Preparation – the first thing to do is unpack and check the new toilet for chips, cracks or damage. Check inside the tank for any missing parts. Clean the bottom of the new toilet. Clear the bathroom area of any floor mats or items in the room and lay down a drop cloth to protect the existing flooring. Have some rags handy to cleanup any dripping water.
Turn Off Water-supply valve to the toilet and exercise the valve a couple of times to remove any deposit build up inside of the valve seat. Next remove the tank lid then flush the toilet until the tank reservoir is empty.
Disconnect Toilet– Now disconnect the water supply tubing between the wall valve and the toilet tank.
Remove the Tank– if it is a 2 piece toilet look in the bottom of the tank and find 2 or 4 bolts at the bottom that go thru the tank and connect to the toilet base. Remove these bolts and lift the water tank off and discard.
Remove Toilet Hold Down Bolts– Cut out the old caulking around the base of the toilet where it meets the floor, using a utility or putty knife. The bolts are on the bottom exterior sides of the toilet on the left and right side. Remove the bolt covers and unscrew the nuts. If they are corroded, cut the bolt off below the nut with a hacksaw.
Remove Toilet- tip the toilet from side to side slightly to break seal or loosen with a pry bar for ease of lifting. Straddle the toilet and lift directly upwards above the bolts and move to the side, get a firm grip on the toilet and carry upright to discard. Avoid tipping as there is still water in the trap and it will spill out if tilted.
Stuff a rag in the drain pipe flange to keep debris from falling in the pipe and to stop sewer gases from entering the room.
Remove old wax seal around the drain flange and clean surface of flange with a putty knife or scraper and completely remove old caulking on the flooring. *If you are going to paint the bathroom now is a good time to paint behind the toilet before the new one is installed.
If the old water supply valve is leaking around the stem, tighten the valve retainer nut. If this doesn’t work then replace it now with either a solder on or compression fitting shut off valve. Check the toilet mounting flange for damage and if needed change it now also.
Install the hold down bolts in the slots of the flange and set to 12″ center from back wall. To help hold the bolts in place, put some wax from the old ring between the bolts and flange so the bolts stand up straight while you lower the toilet in place. Install the new wax ring centered on the pipe flange. Carry the new toilet near where it will be installed, clean the bottom of the fixture to remove any dirt and clean the floor area that will be under the toilet.
Install the New Toilet Base– Pick up the bowl of the toilet and straddle the drain pipe and line up the hold down bolts with the hole in the toilet base. Slowly lower the toilet keeping bolts centered as you lay it down on the wax ring and check that it is parallel to the back wall. Put some down pressure on the bowl until the base is flat on the finished floor. Install the washer and retaining ring for bolt covers and hand tighten the nuts snug to the toilet base. Now, with a wrench slowly tighten the nuts alternating from one side to the other, to keep the equal amount of pressure on each side until the toilet is secured. Check that the toilet is solid and doesn’t rock from side to side, if it is secure don’t tighten any further as the toilet base can easily crack from too much tightening.
Installing Tank– For two piece toilets prepare to install the tank now. Install the large rubber ring gasket in the toilet fill hole, install the tank bolt down rubber gasket and install the two brass bolts through the holes as the manufacturer’s instructions from inside the toilet tank thru toilet base toilet tank to toilet base. Tighten slowly until tank is fully seated. The toilet is now installed.
Hook Up Water the supply to the inlet at the bottom of the toilet tank and install the other end to the water supply valve. Inside the water tank check the rubber flapper for proper seal and connect flush arm with chain.
Turn on Water– as the tank is filling check for any leaks around bolts and around the valve. Let tank fill up to required level which is a little below the overflow tube. If there are any leaks, slowly tighten connections until there are no drips. Check the toilet hold down bolts and tighten ¼ turn if possible.
Install trim caps and caulk the toilet bowl base to the finished floor, test toilet by flushing a few times checking for leaks. Lastly install the toilet seat, this usually has nylon bolts and nuts and fastens to the toilet base. Lay a newspaper on the floor under the water supply valve and leave it there overnight to see if there are any leaks.
Congratulations, check out GRANITE COUNTERTOPS – We have the perfect granite countertop for your project whether your countertop needs are for your kitchen, bathroom, or another surface.